CLICK HERE FOR FREE BLOGGER TEMPLATES, LINK BUTTONS AND MORE! »

Wednesday, December 22, 2010

{Food Files} My 1st Attempt at Quiche

I recently had quiche at a potluck.  It was so good!  I am not sure how many slices I had but it wouldn't surprise me if I ate at least 1/2 of it that day.  Of course, you know me... I just had to have the recipe.  And with no hesitation, the chef gave it to me. This doesn't always happen so easily.  Some folks like to keep their recipes a secret and make me go through unthinkable hoops to obtain it.

When the recipe hit my inbox, I was glad to see it did not seem too complicated, so here I am sharing it with YOU!  Most of the ingredients are pantry items we keep on hand. Usually I would make the pie crust but I just happened to have a store bought one and used that. 
  • 1 single pie crust
  • 4 eggs, lightly beaten
  • 1-1/2 cups heavy cream, half and half or milk
  • 1/4 cup sliced green onions
  • 1/4 tsp salt
  • 1/8 tsp black pepper
  • dash ground nutmeg
  • 3/4 cup cooked ham, chicken or crab meat
  • 1-1/2 cups shredded swiss, cheddar, monterey jack, and/or havarti cheese (6ounces)
  • 1 tbsp all purpose flour
Line unpricked pastry with a double thickness of foil. Bake at 450 degree F for 8 min. Remove foil. Bake for 4-5 min. more or until pastry is set and dry. Remove from oven. Reduce oven temp to 400 degrees.


Meanwhile, in medium bowl (or my handy dandy new mixer) stir together eggs, milk, green onions, salt, pepper and nutmeg. Stir in ham. In a small bowl toss together the cheese and flour. Add to egg mixture; mix well.


Pour egg mixture into hot, baked pastry shell. Bake at 400 degrees for 40 to 45 min. or until knife inserted near center comes out clean.

Let stand 10 min. before serving.

I cut this into 6 pieces, my son ate 3 of them within 20 minutes... I take it that means he liked it. ;o)

Monday, November 29, 2010

Count Your Blessings

All month of October I wanted to make some sort of "blessing" board.  I wasn't sure what exactly I wanted to do but I knew I wanted to do something and have it ready by November... Well October rolled on by... and then November.  Here I am on November 29th and I FINALLY made my "blessings" board.

I went with the dry erase method by using a glass frame.

It was pretty easy to make and has a lot of meaning... I like those kind of projects.

I started off with a 14" x 26" photo collage frame... and removed the collage mat from behind the glass.


I picked up some nifty beige burlap (I think that is what this is called) from the fabric store... with some extras to make a few extra and some cool decor projects.


I put the burlap behind the glass... which was the most challenging part of this project.


I cut a decal with "Count your Blessings" with numbers 1 - 10


And wahlaa!


I have a few extra frames ready for YOU! If you are local I would be happy to make your Blessing board for you.  If you would like to buy a decal kit, please email me: designedbylauren@yahoo.com

You can also replace "Count your Blessings" with another saying if you wish (ie; My Favorite Things, What's for Dinner?)

Wednesday, November 24, 2010

The Benefits of {OCD} Obsessive Couponing Discounts

Last night I made a plan to go to Publix bright and early the next morning. As I began to get my coupons ready, I became giddy inside... excited of the savings headed my way.  Going to bed was tough for me.  It almost felt like the night before Black Friday were you become too excited to sleep... I began to wonder... "have I lost it just a little for being this excited about going grocery shopping?"  Finally I fell asleep...

My internal alarm clock woke me up around 7am and I was READY TO GO! I grabbed my coupons that I prepared the night before and took off for Publix.  I thought it was a great idea to get there by 8am, thinking it would be relatively empty. Umm... the day before Thanksgiving... not so much.  Either it was a bad idea because it was packed OR a really good idea that many others shared with me.

Either way, my plan was still set in motion to ONLY get the items I preplanned to purchase.

Well let's just get to the good stuff, shall we... The savings:


Total before savings: $96.44

Amount I paid: $26.48


"Oh my goodness, that's A-mazing!!" You say! "How on Earth did you do it?" You ask?

Savings Breakdown (just a few... this is very time consuming!)

  • Planters Mixed Nuts: $4.29 each / BOGO Free - $1/2 Publix coupon - $2/2 manu Coupon = $0.64 each
  • Betty Crocker Muffins: $2.59 each / BOGO - $0.50 Coupon = $1.04 each
  • Cool Whip: $1.95 each / BOGO - $1/ 2 = $.048 each
  • Ricola Cough Drops: $1.79 each / BOGO - $1/2 = $.40 each
  • Nestle Refrig Cookies: $3.39 each / BOGO - 2 - $1 coupons = $.70 each
  • Marie's Dressing: $2.99 each / BOGO - $1 coupon = $0.99 each
  • Ritz Crackers: $3.69 each / BOGO - $1.50 Publix coupon - $1/2 manu coupon - $1 Target coupon = $.09 each
  • Oscar Meyer Bacon: $3.5 each ($7) - $2/2 Publix coupon = $2.50 each
  • Kraft Mac & Cheese: $1.29 each - $0.70 Publix savings = $0.59 each
  • Breakstone Sour Cream: $2 each ($4) - $1/2 coupon = $1.00 each
  • Yoplait Yogurt: $0.50 - $0.50 coupon = FREE
  • Carmex Lip Balm $1.49 - $0.50 Publix savings - $0.30 coupon = $0.20
  • Crisco Canola Oil: $3.49 each / BOGO - 2 - $.55 coupons = $1.20 each
  • Moist Flushable Cottenelle Wipes: $2.69 - FREE coupon = FREE
  • Phili Cream Cheese: $2.05 each ($4.10 for 2) - $1 coupon - 2 $0.80 Publix savings = $0.75 each
  • Capri Sun: $2.69 each - 2 $.69 Publix savings - $2/2 Publix coupon = $1.00 each
Do you have any A-mazing savings? Pass along the tips in the comments section.

Tuesday, November 23, 2010

{PRE} Black Friday Sale

Since this weekend, I have been hosting a {PRE} Black Friday Sale on my Ten23 Designs Facebook Fan Page.  There are a lot of decals for up to 50% off and the sale will continue this evening as well as tomorrow evening, followed by a HUGE Black Friday Sale!

I hope you come and join in the fun... if you have any special requests for items you would like to see go on sale, please let me know.  This is a friendly open invitation sale.

Thursday, November 11, 2010

{Sneak Peek} Holiday Decals

This morning I woke up and began working on a few holiday decal designs for my Ten23 Designs shop.

The 11" personalized family name ornament decal is only $12. This comes with an optional Est. date at no cost... AND... This decal is currently BOBO FREE so you can buy one for yourself and give one as a gift, OR give two as gifts... OR... well you get it. 


These large holiday ornament decals are very festive.  This package includes 5 decals (2 - 11" and 3 - 6") ~ They read HO HO HO Merry Xmas... and I am currently offering FREE customization if you would like them to read something else.  These are only $20 for all 5.


Add cheer to your door by adding Santa on his sled.  This design is only $10 and comes with "Season's Greetings" or other wording of your choice.


One of the great things about decals is that they can be used on so many different things... like a refrigerator door for instance.  This cute swirly tree is only $15 and is topped with the perfect little star.


For those that want to make a larger impact on the reason for the season, the King of Kings in the shape of a Christmas tree decal is the perfect find.  It measure 2' wide by 3' tall.


Tis the season...

Any other designs you would like to see / have for this holiday season?

Monday, November 8, 2010

Holiday Ornaments {Giveaway} :: Coming Soon

Heads UP ^

This week I will be hosting a giveaway with our new personalized holiday ornaments kits on my Ten23 Designs Blog...


Friday, November 5, 2010

The WAGON: From His to Hers

When my son turned one (now 12), he almost instantly did not want to ride in his stroller anymore.  Even though he was pretty light, there was no way I was going to carry him around everywhere when he did not want to walk.  So in comes a wagon.  It was a bright teal wagon with a side door and seat on each end.  It was perfect!

So now 11 years later, my 1 year old daughter decided she doesn't like being in the stroller too much either.  Maybe it's genetics... who knows?!?  BUT I did have a good idea on what she would like... a wagon! I searched the online classifieds and found the SAME wagon for only $20... his was $80 over a decade ago so the $20 deal was a bonus.

Now he is was a little boy... and she is a little girl so I wanted to make hers a little more, little lady like... so I turned to my dear friend... KRYLON, who just happens to carry a great spray paint made for plastics.

This is her in the wagon before the transformation...

I first sprayed it with the white primer since the teal is a darker color.


After I let that dry... and it didn't take long, I sprayed it with the Krylon Fusion for Plastic spray paint... I use this spray paint at least twice a month to give my thrifty finds new life.

For the wagon, I used bright pink and finished it off with touches of granny apple green. 


She absolutely loves it... and so do I!

I am entering this project into the DIY Club Project Party... wish me luck!

Wednesday, October 13, 2010

"Kinda" Like a Plane Wreck

"We" as responsible adults take on a lot each and everyday day of our lives. Many of us take on responsiblities that we have no control over or take on other people's responsiblities because they are not .


Do you ever stop to think what may happen by taking on so much unneeded responsiblities? The obvious of course is stress, and all stress related elements to go along with it.

Imagine for a momment... a plane. If you load it with too much luggage, it will not be able to take off. Or even worse, it will take off & possibly crash.


This is what we do to ourselves when we load on too much "weight." We set our selves up for failure... to crash.


So STOP what you are doing and take a step back... look at what you have on your plate. Is there anything you can "scrap off?"

Today, for me... for your family, I would like you to let go of at least one thing in your life that is just holding you down.

Together we will loose our baggage & fly high together.

Tuesday, September 21, 2010

Autumn {Football Season} Wreath

It's Autumn and time to switch around the wreath on the front door. Each season I have update the colors to reflect how I am feeling.  This time around I used muted Florida Gator colors. I also changed out the "welcome" decal to make it a little larger and POP more.

What do you think?


Sunday, September 12, 2010

{Recipe Experimentation} Choco-nutty-yum Bar?

I recently fell in snack food love with Planters brand energy snack bars. Just as I began to have a normally scheduled craving for the delightful snack bar, I could no longer find them in the grocery store.  It was possibly just my nearby store that stopped carrying and more than likely I could drive a couple more miles to another store to find them... but it was so much more fun to try to make them myself at home.

I started off with peanuts and almonds... the identifiable ingredients in the snack bar.  Since I couldn't get a hand on one to try to actually duplicate, I just winged the rest.  I decided to go with some pretzels and I used marshmallow fluffy as my binding agent.  Of course, I included good old chocolate as well.


I began by chopping the peanuts and almonds in my mini food processor. I left the pieces pretty big by only hitting the "pulse" button a few times.


Since I didn't have a recipe, I placed all the dry ingredients into the "pan" I was going to be using to test for size. 


Next I put some of the chocolate chips into my homemade double-broiler (ceramic bowl in a small put with water underneath - I am pretty sure my mother taught me that when I was pretty young).  **Waiting for the chocolate to melt**


I added the jar of marshmallow fluffy stuff and my melted chocolate chips...


...and got this.


I flattened it out in my "pan" and added a top layer of melted chocolate.


After letting it sit in the refrigerator for about 30 minutes, we have this!


The verdict?  My son: "Mommy these are delicious!" My husband: "Very good!" Me: "I cannot believe they actually taste better than what I was trying to accomplish."

Now we just need to name them... I was thinking about, "Choco-nutty Yum Bar" What do you think? Any suggestions?

Finally! My Very Own Camera Strap

When my husband bought me my Canon Rebel DSLR a couple of years ago, the only thing that bothered me about it was the camera strap. It usually rubbed the back of my neck just enough to give my skin a little rash, so I went out in search of a camera strap with a bit of padding.  Every time I found one, I thought the same thing... this is too expensive for a little piece of fabric.  I should make one myself.

Now, a couple of years later, I have finally finished the EASIEST sewing project I have ever done.

All I did was measure out the material, iron the creases & sew the ends. It may have taken me all of 20 minutes... including the ironing.


What do you think of my homemade camera strap?

Saturday, September 11, 2010

The cure all... fix all... or at least feel better!

Chicken noodle soup is a cure-all in our home.  Even when it doesn't actually "cure" it sure does make us feel all better.
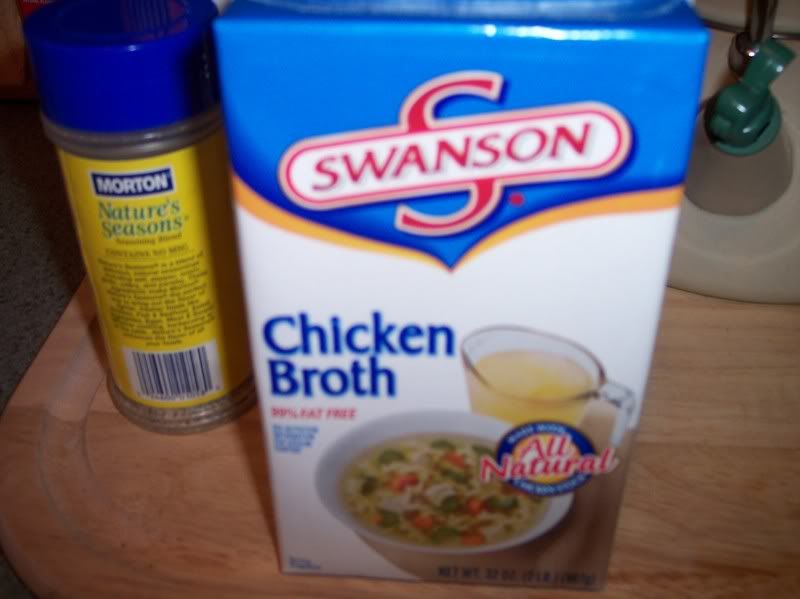
Chicken noodle soup is pretty each to make. If I need to make a pot rather quickly, I grab a carton of Swanson broth to start off...

Photo Sharing and Video Hosting at Photobucket
.
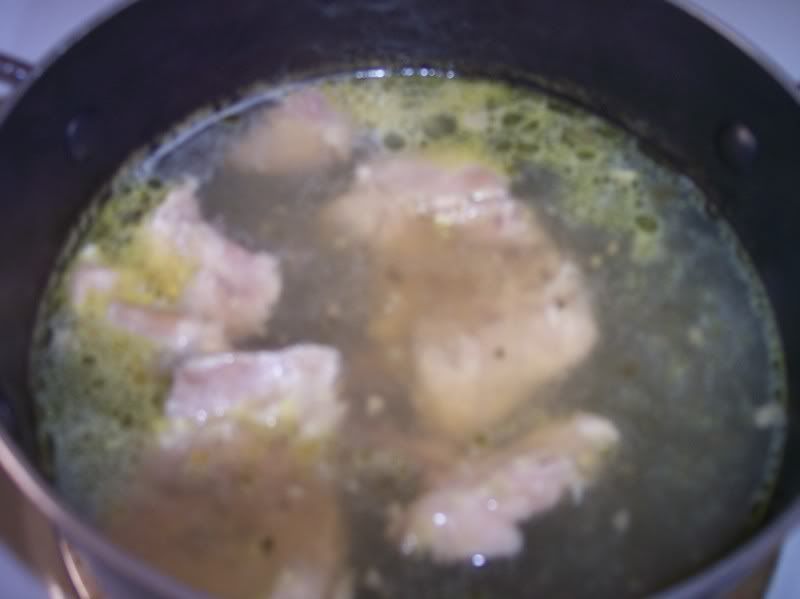
Add the broth and uncooked chicken into a pot and bring it to a boil...
.
Photo Sharing and Video Hosting at Photobucket
.
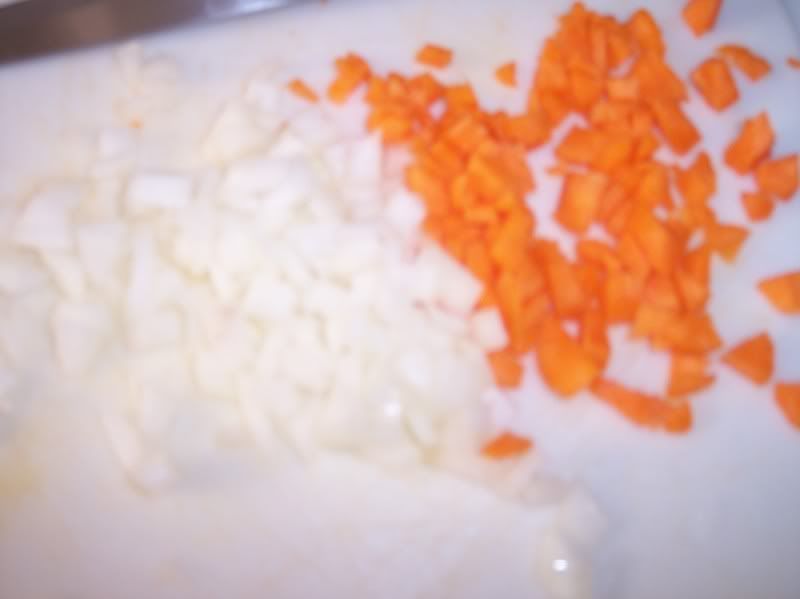
While that is cooking... dice onions, carrots and celery
.
Photo Sharing and Video Hosting at Photobucket
.
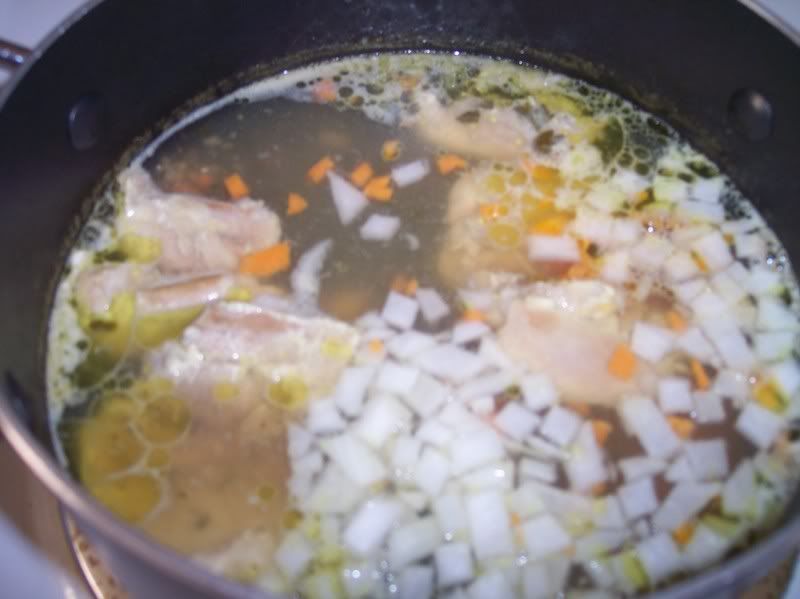
After the chicken comes to a boil... put it on low and add the veggies
.
Photo Sharing and Video Hosting at Photobucket
.
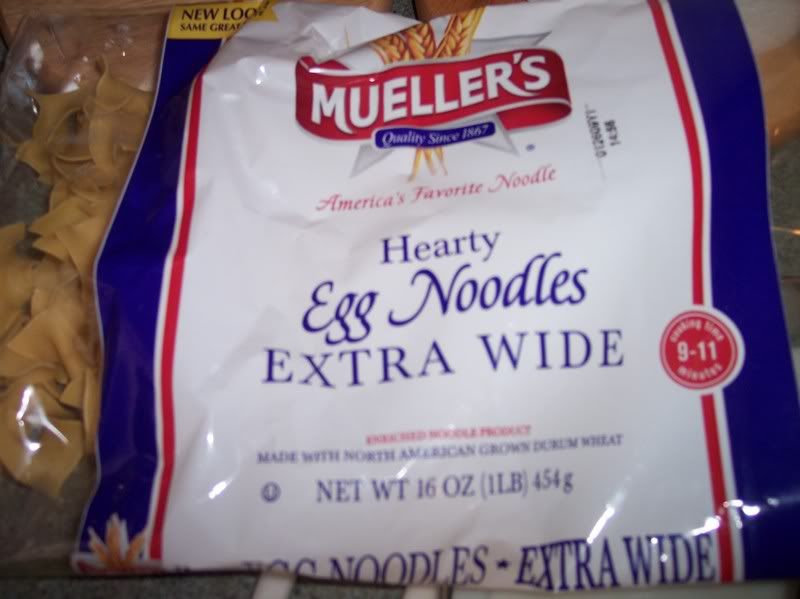
Next comes the noodles... I use extra wide noodles, but you can use any type of noodle you wish... or even rice.
.
Photo Sharing and Video Hosting at Photobucket
.
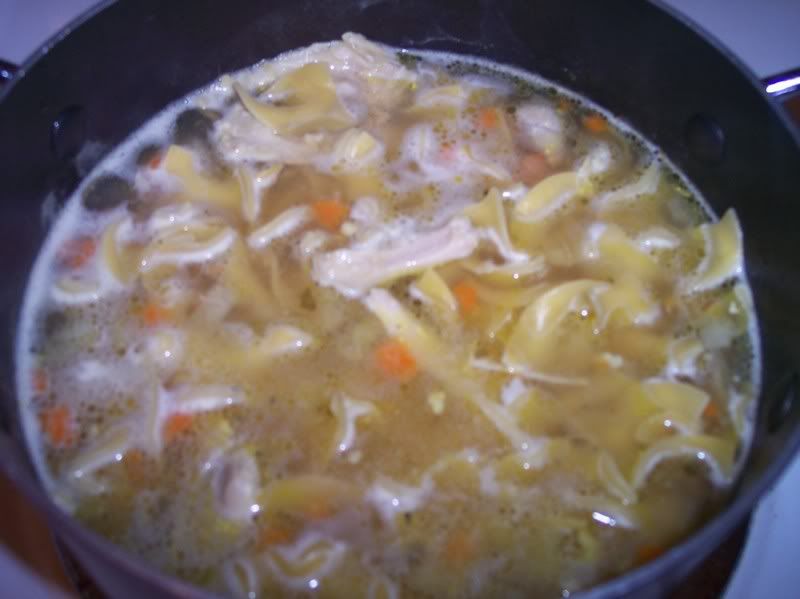
Add the noodles and allow to simmer until al dente (tender).
.
Photo Sharing and Video Hosting at Photobucket
.
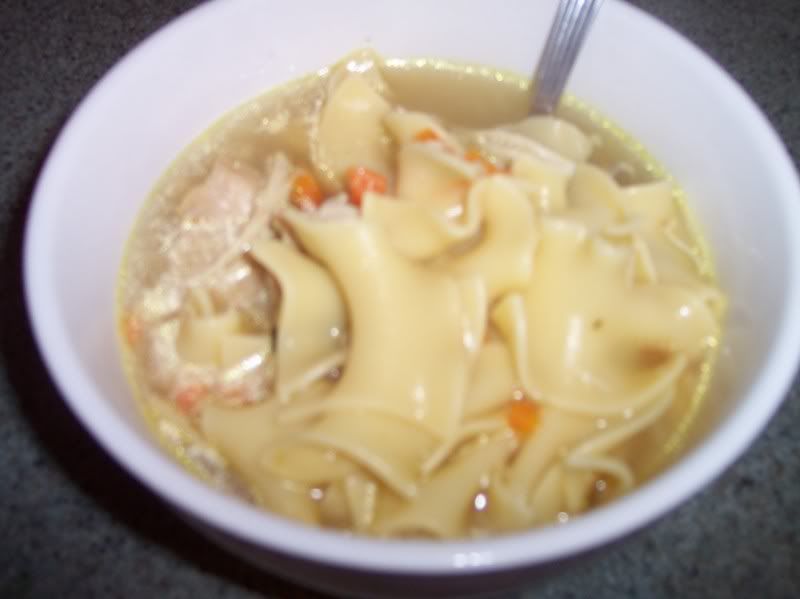
Serve, enjoy and feel better.
.
Photo Sharing and Video Hosting at Photobucket
.
.
Now for those of you who saw the title Chicken Noodle Soup and got all excited you were going to see some dancing... you know I couldn't leave you out... this is for you...
.

Wednesday, September 8, 2010

{Life Goals} Item #12 :: Make Ravioli from Scratch

I have a very diverse cultural background.  Of everything I am, I am most in touch with my Italian heritage.  Maybe it's my love of Italian food.  Well that love is what got Life Goal #12 on the list :: Making ravioli from scratch.

I watch Iron Chef with my husband on a regular basis. Chef Cat Cora and Chef Mario Batali often prepare fresh pasta and they only have an hour to cook it... so I said to myself, "Self, if the Iron Chef can do this, than we can do this."

Since I cannot seem to follow directions exactly from one recipe alone, I studied several and took the most important pieces and made sure I at least followed those: Flour, Salt and Eggs

Here is how I made my chicken portabella ravioli with a creamy mushroom sauce...

Sift 2 cups of flour and a pinch of salt on a sheet of wax paper


Take 3 eggs and add a touch of salt


Pour the eggs into the center of the flour


Hand knead until it looks like this...


Set it aside in a covered bowl for 30 minutes


Now let's start the filling...

Place ground meat (I used chicken), 1 egg, 2 slices of salami (because I love salami), 2 tablespoons of Parmesan cheese, parsley, 3 ounces of ricotta cheese, and a BUNCH of garlic... into a food processor.  Let it do it's thing.


You then end up with this... set it aside and let's start the sauce


Add a BUNCH of chopped garlic into a well oiled (EVOO) frying pan on medium. Let the oil work it's magic with the garlic, then add about 4 - 5 ounces of portobella mushrooms. Cook them for about 3 minutes.


Add a cup of heavy cream... turn down and let simmer.


About 30 minutes should have passed by now so we can go back to the dough we started.

Now it's time for the most difficult part of the entire dinner... rolling the dough. Let me just tell you this... I made this several hours ago and my arms are still aching.  As a matter of fact, I am resting my arms in my lap and typing. Thank goodness for wireless keyboards.


After you get it rolled out, very thin, you can add your filling on to your dough (about a teaspoon)


Wrap the top of the filling with another layer of dough

Take your handy dandy shamush presser (or you can just cut & press) and make it work!


Repeat


Repeat a lot more


Boil the ravioli for about 10 minutes and strain


Add your creamy mushroom sauce...


and viola!!!


So what do you think? Are you going to give it a whirl?